





Surveillance & Alarm Systems
professional alarm installation to help protect your home, family, and everyday peace of mind.
View More »
Home Repairs & Maintenance
everyday repairs, adjustments, replacements and those lingering items on your home to-do list.
View More »
Home Improvements
drywall, trim, flooring, painting, fixture upgrades and improvements throughout the home.
View More »
Smart Home & Technology
smart devices, connected-home equipment, entertainment systems and technology installation.
View More »
Networking & Wi-Fi
network equipment, structured cabling, Wi-Fi improvements and connected-device setup.
View More »
Assembly, Mounting & Installation
furniture assembly, TVs, shelving, mirrors, artwork, fixtures,
hardware and more.

Remodeling
bathroom remodels, room renovations, updates and larger improvement projects.
View More »
Heating & Air Conditioning
reliable installation and service for comfortable indoor temperatures in every season.
View More »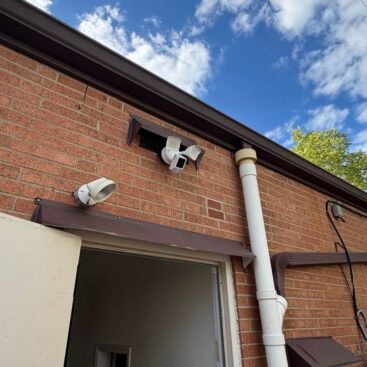

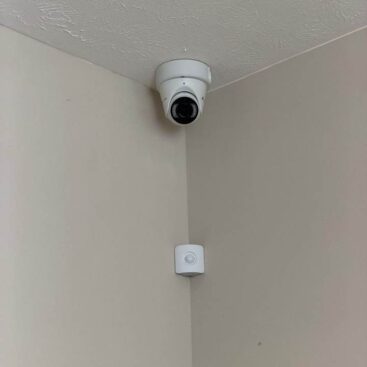

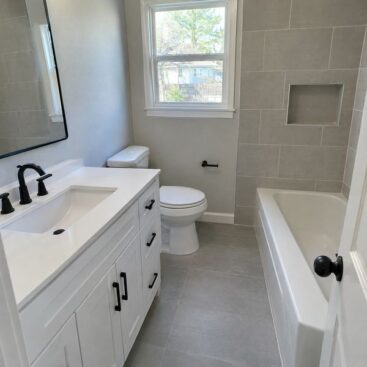
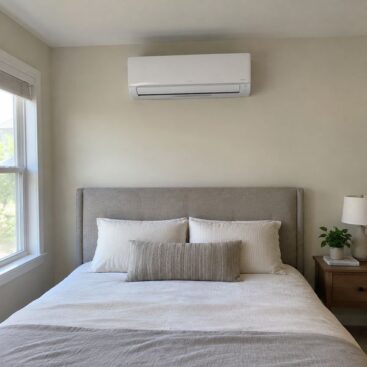
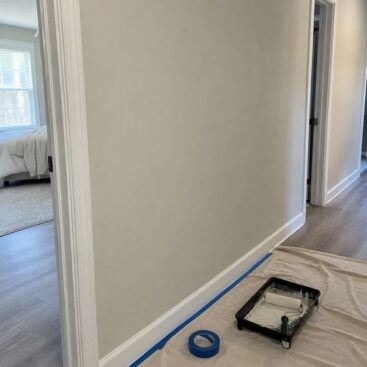
From security cameras and alarm systems to everyday repairs and home upgrades — a look at recent Bellgrip work around Cleveland and Northeast Ohio.
View All Projects


How to Choose a Home Alarm System: 7 Things to Decide First
A home alarm system is one of the most effective ways to protect your home when it’s empty — but the options can be confusing. Before you buy a kit or sign a monitoring contract, it helps to decide a few things first. Here’s a simple checklist we walk through with homeowners in Cleveland and Northeast Ohio.
1. Start with your entry points
Most break-ins happen through a door — front, back, side or the door from an attached garage. Ground-floor windows come next, especially those hidden from the street. Walk around your home and list every door and every window that can be reached from the ground. That list tells you how many sensors you actually need.
2. Choose the right sensors
- Door and window contact sensors — trigger the alarm when something opens. Put one on every exterior door.
- Motion detectors — cover a hallway or main room that an intruder would have to cross. One well-placed sensor can protect several windows.
- Glass-break sensors — useful for rooms with large windows or sliding doors.
- Pet-friendly motion sensors — if you have a dog or cat, choose sensors designed to ignore small animals to avoid false alarms.
3. Professional monitoring or self-monitoring?
With self-monitoring, alerts go to your phone and you decide what to do — no monthly fee, but you must be reachable. With professional monitoring, a monitoring center responds and can dispatch help even when you can’t answer. If you travel often or have elderly family members at home, monitoring is usually worth it.
4. Wired or wireless
Wireless systems are faster to install, easy to expand and work well in most homes. Wired systems are very reliable but require running cables, which is easiest during a remodel. Many modern systems combine both.
5. Place the control panel and keypad wisely
Put the keypad near the door you use most, so you can arm and disarm it easily — but keep the main hub out of plain sight from windows, so it isn’t the first thing an intruder sees or reaches.
6. Plan for everyday use
- Can you arm and disarm the system from your phone?
- Does it have an “at home” mode that arms doors and windows but not indoor motion sensors?
- Can family members have their own codes?
- Does it work with your cameras, video doorbell or smart locks?
A system that is easy to use is a system that actually gets armed.
7. Test it after installation
Open every door and window, walk past every motion sensor and confirm each one reports correctly. Then make sure everyone in the household knows how to arm, disarm and cancel a false alarm.
Want help choosing and installing an alarm system? Call 216-848-4474, email manager@bellgrip.com, or see our Surveillance & Alarm Systems services.
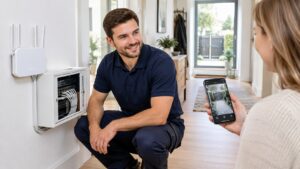
Why Your Wi-Fi Security Camera Keeps Going Offline (and How to Fix It)
A security camera that keeps going offline is worse than no camera at all — it gives you a false sense of security. In most homes the camera itself is fine; the problem is the Wi-Fi signal or the power reaching it. Here are the most common causes and what you can check yourself.
1. The router is in the wrong place
Routers hidden in a closed cabinet, a closet, a basement corner or behind the TV lose a lot of their range. Wi-Fi signal also weakens through brick, stone and metal — common in older Cleveland homes. Moving the router to a central, open spot, ideally a little higher off the floor, is often the single biggest improvement.
2. The camera is too far from the router
Outdoor cameras near a gate, garage or driveway are usually at the edge of coverage. Open your Wi-Fi settings on your phone and stand where the camera is: if you see one or two bars, the camera sees the same. A mesh Wi-Fi system or a properly placed access point fixes weak zones far better than a cheap plug-in extender.
3. The camera is on the wrong Wi-Fi band
Many cameras only work on the 2.4 GHz band, which reaches farther but is more crowded. If your router combines 2.4 and 5 GHz under one name, some cameras struggle to stay connected. Check the camera’s requirements and, if needed, set up a separate 2.4 GHz network for smart devices.
4. Power problems
- Battery cameras go offline when the battery runs low, especially in cold Ohio winters, when batteries drain faster.
- Solar panels may not keep up on short, cloudy days.
- Plug-in cameras can drop out if the adapter or extension cord is loose or shared with other equipment.
For cameras that matter most, a wired power source or PoE (Power over Ethernet), where one cable carries both power and data, is the most reliable option.
5. Too many devices on the network
Smart TVs, phones, laptops, speakers and cameras all compete for bandwidth. Cameras upload video constantly, so an older router can get overwhelmed. Restarting the router helps temporarily; upgrading it, or giving cameras their own network, solves it.
6. Outdated firmware or app
Update the camera’s firmware and the app. Manufacturers regularly fix connection bugs, and an outdated camera may drop off after a router update.
A quick checklist
- Check signal strength where the camera is mounted
- Move the router to a central, open location
- Confirm the camera’s Wi-Fi band
- Check batteries, adapters and cables
- Update firmware and restart the router
Cameras still dropping off? Call 216-848-4474, email manager@bellgrip.com, or see our Networking & Wi-Fi services.

Leak Under the Kitchen Sink? 6 Places to Check
A small puddle or a damp spot under the kitchen sink is easy to ignore — until the cabinet floor swells, mold appears or the leak gets worse. The good news: most under-sink leaks come from a handful of predictable places. Here’s how to find the source.
Before you start
Empty the cabinet, dry everything with a towel and place a dry paper towel on the cabinet floor. Paper shows exactly where drips land. Then check each of the spots below.
1. The P-trap and drain connections
The curved pipe under the sink (the P-trap) is the most common culprit. Slip nuts loosen over time and plastic washers wear out. How to check: fill the sink with water, pull the stopper and run your hand along the trap and every joint while it drains. A leak that appears only when the sink or dishwasher drains almost always comes from here.
2. The water supply lines
Two flexible lines connect the shut-off valves to the faucet. Look for drips at both ends and for bulging, kinks or rust on braided lines. Lines older than about 5–10 years are worth replacing as a precaution — a burst supply line can cause serious water damage quickly.
3. The shut-off valves
Old valves can drip from the stem, especially right after they’ve been turned. If a valve won’t turn or leaks when you touch it, have it replaced before you need it in an emergency.
4. The faucet base
If water appears only while the faucet is running, it may be leaking from the faucet body or the sprayer hose and running down beneath the sink deck.
5. The dishwasher drain hose
The dishwasher drain hose connects to the sink drain or the garbage disposal. A loose clamp or cracked hose leaks only while the dishwasher runs, which makes it easy to miss.
6. The garbage disposal
Disposals can leak from the sink flange at the top, the side connections, or the bottom of the unit. A leak from the bottom usually means the disposal itself needs replacing.
When to call a pro
- The cabinet floor is soft, swollen or stained
- You see mold or smell mustiness
- The leak comes from a valve, the wall pipe or the disposal body
- Tightening a connection didn’t stop the drip
Catching an under-sink leak early usually means a small part and an hour of work instead of a new cabinet floor.
Found a leak? Call 216-848-4474, email manager@bellgrip.com, or see our Home Repairs & Maintenance services.